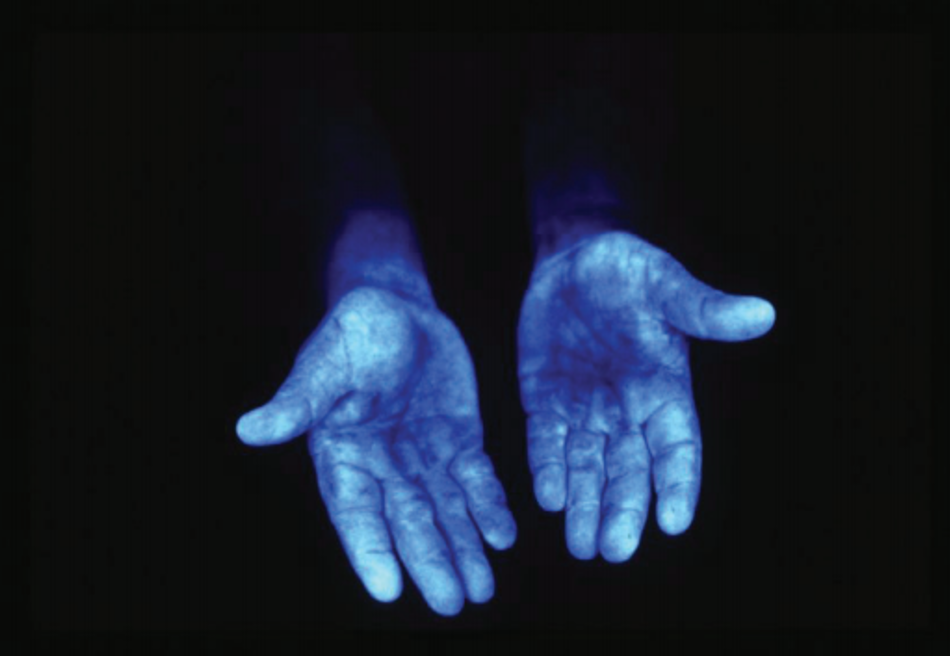
Photo Credit Rutgers Coop.
By Jim Nase
One of the ways in which you can change up your current core training and provide your technicians with another tool to be incorporated into your pesticide safety program is the use of fluorescent tracer materials. Fluorescent tracers are used by pesticide safety educators to show workers safe pesticide practices. Such programs help show technicians about pesticide containment. I would like to share with you some of my techniques using fluorescent tracer materials that you will be able to incorporate and use to enhance your own pesticide training programs.
Tools you may need:
- One-gallon B&G sprayer
- Backpack sprayer
- Backpack blower mister
- Bulb-style duster
- B&G Dust-R (this is preferred to alternative whirly bird-type granular applications because it is a more direct application that can be made without impacting sidewalks, driveways or patios)
Fluorescent tracer materials you may need:
- For a dust application, mix tracer material into flour.
- For a liquid application, mix tracer material with water.
- For a granular application, crush cereal to the desired size and mix tracer material into it.
Setting up the training exercise:
- Make sure the room in which you’re performing the training is as dark as is possible so that it is easier to see the fluorescence.
- When choosing participants, those wearing darker clothing would be better candidates.
- If you will be using hats, make sure they are also dark in color.
- Have the participants armed and ready to use both their cell phones and flashlights during the training exercise.
- Have a copy downloaded of “Fluorescent Tracer Technique: Hands on Learning for Pesticide Safety Education”. This manual is primarily for farm-related applications, but you can easily adapt the same principles to your needs.
PERFORMING THE TRAINING. Always make sure that prior to your training exercise you have practiced the applications yourself first. Have safety-related equipment, along with application tools, set up on a table without further instruction. Let them know what material they are to apply and the area(s) to which you would like them to apply them. You will find it interesting how differently people prepare for the application and then, once prepared, what they actually choose to use for safety protection.
When all the participants are finished applying, it is time to put them under the blacklight to see the results. After everyone has undergone the blacklight test, it is a great time to go over the proper safety equipment and routine cleaning (such as how to clean a clogged spray head) of the items we use every day — flashlights, cell phones, handheld devices, etc. We touch these items with our protective equipment on, but then continue to use them after the application without the same protection.
I hope I have given you some tips and recommendations on how to make the most of your pesticide safety training sessions.
Jim Nase, an Associate Certified Entomologist, is service manager at Moyer Indoor/Outdoor Pest Control, Souderton, Pa.
This Tech Talk article was originally published in the March 2019 edition of PCT magazine.

